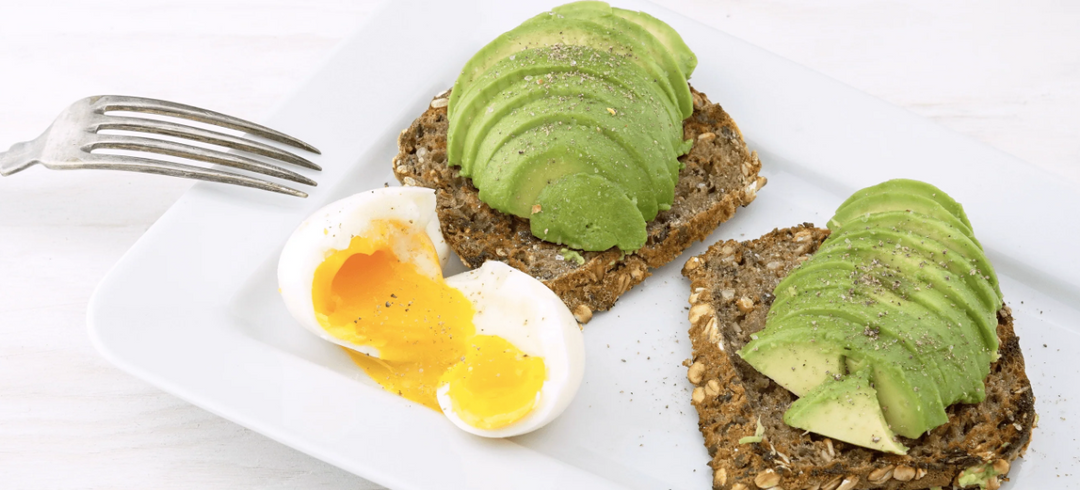
Author: Stuart Gregg
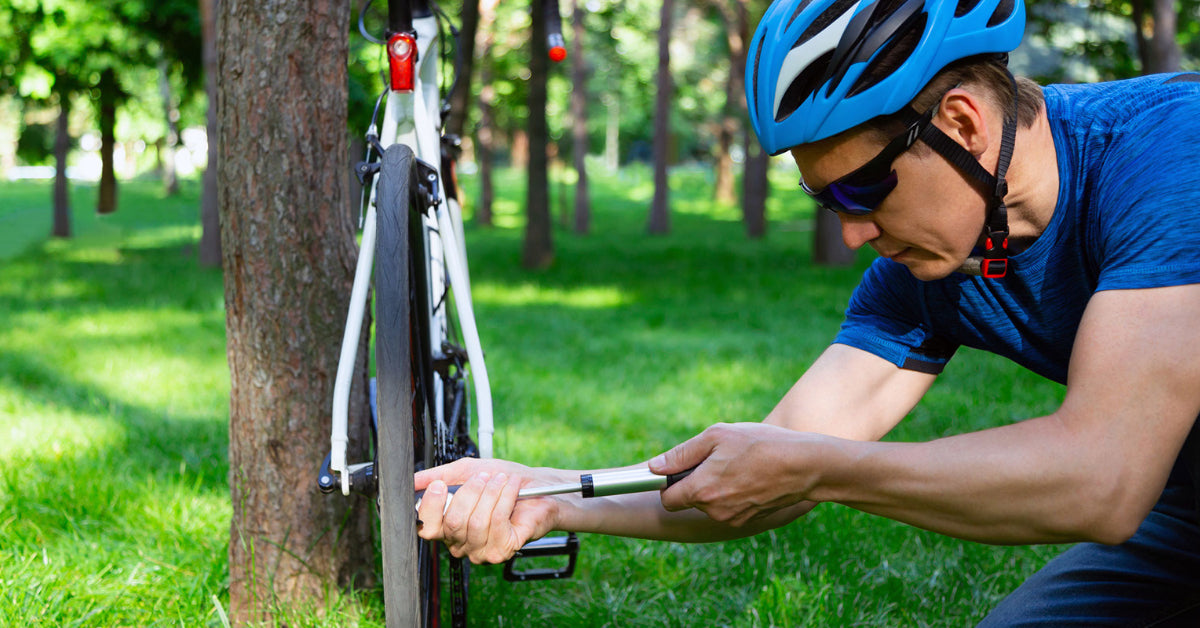
Everyone who rides a bike knows the sinking feeling of getting a flat tire while out riding, and while running a tubeless setup reduces the number of punctures you get it doesn’t prevent them altogether. With a little preparation and practice it does not take too much to become a puncture fixing pro.
To fix the puncture you are going to need, tubes, tire levers, and a pump or co2 cartridge, optionally you may need Allen wrenches to remove through axles and some rag to clean up tire sealant. So make sure you have them with you when you ride. You can also carry a puncture repair kit but typically that's a last resort, you just replace the tube and fix the old tube when you get home.
First a couple of tips:
The first thing to do when it's a rear wheel puncture shift is to the second smallest cog on the rear cassette, this really helps when it comes time to put the wheel back in frame. Then take everything you need to fix the puncture off of the bike, tube, tire lever(s), pump and/or co2. It's much easier to do this with both wheels still on the bike. Some people are happy laying their bike on the ground, but I like to find something or someone to act as a temporary bike stand, just something to keep the chain out of the dirt. I've used road signs, fences and riding buddies for this in the past.
Remove the Wheel:
First remove the wheel, either undo the quick release or through axle depending on what your bike is equipped with, if it's the rear wheel gently pull the rear derailleur backwards out of the way. I like to grip the pulley cage near the bottom pulley. It keeps your fingers away from the oily chain.
Remove the Tire:
Whether you are running tubeless or not you are going to have to remove one side of the tire from the rim, it can be quite a struggle even for the experienced but a little practice helps. If your bike has rim brakes you should use the lever that opens them up a little so the brake pads have more clearance around the tire. The same applies if you have cantilevers, squeeze them together and disconnect the cable.
- Slip a tire lever between the rim and bead of the tire and lift the tire over the rim.
- Move the lever around the rim sliding the tire bead over the rim, this sounds easy but sometimes requires quite a bit of force.
If the tire is very tight and you can’t slide the tire off of the rim with one tire lever you will need to use two tire levers:
- First place the two levers about 6" apart and use both levers at the same time to lift the bead over the rim, this will take quite a bit of force, which the first few times you do it might seem excessive, this is where experience comes in and once you have done it a few times in becomes easier.
- Once you have the bead over the side of the rim, use one of the levers to slide all the bead off of the rim.
Remove the Tube:
Skip this step if you are running a tubeless set up.
- Make sure that the little knurled nut is off the valve, personally I no longer use the nut with tubes as it allows for a bit of “creep” in the tube and tire that when the nut is installed can tear the valve out of the tube causing a puncture.
- Push the valve through the whole in the rim and pull the tube out of the tire.
- If you have a slow puncture and have a pump, pumping the tube and finding the leak can help you locate where in the tire whatever caused the puncture is located.
Remove the Valve:
Skip this step if you are not running a tubeless setup.
- Unscrew the knurled not from the valve, tubeless valves always require the nut but it should only ever be finger tight.
- Pull the valve out of the rim and screw the nut back onto the valve and then put both in a safe place so you don’t lose them.
- There’s going to be a lot of tire sealant and things will be messy, clean it up the best you can, I always have some paper shop-rag in my saddle bag for this.
Check the tire:
I can’t stress this step enough, it’s easy to skip if you are in a hurry but there’s only one thing worse than fixing a puncture - fixing two of them! Even if you can see the nail that caused the puncture you must always check the tire to make sure that there is nothing else stuck in the tire that could cause another puncture in your new tube. This is particularly important if you are installing a tube to fix a puncture when running tubeless, as you may have one or more things already in the Tyre and not know about them because the sealant took care of them, but this can also happen with tubes.
- Check around the outside of the tire for anything embedded in it, thorns, nails, glass and pull them out.
- Carefully check inside the tire for anything sticking through and push it back out.
- As a final check I’ll run my thumb around the inside of the tire, but my tetanus shots are up to date, seriously I always do this but it involves some risk and it’s not our fault if you get a boo-boo.
- Go back and check the tire inside and out a 2nd time.
- If you are about to fit your last tube check a 3rd time.
Booting the tire:
If you end up with a big hole in the tire you are going to have to boot it, which simply means place something inside the tire to prevent the tube poking through the tire and puncturing again. There’s no hard and fast rule for this but any kind of slit or a whole bigger than a ⅙ of an inch I’ll boot it. These days I carry Park Tool TB-2 tire boots, but in the past I’ve used dollar bills and used gel packets to get me home. If you do end up booting the tire it’s only good to get you home, please get a new tire before your next ride.
Installing the tube:
This can be one of the hardest steps when fixing a puncture especially if the tire is a tight fit on the rim, you are not supposed to use your tire levers to remount the tire as you can pinch the tube if you are not careful. One thing that can help the process is to rest the wheel in your lap as you work the bead over the rim, it gives you good leverage when using the palms of your hand to mount the bead over the rim.
- Put a little air in the tube, just one or two strokes of the pump or what you can blow in with your own longs. You add the air to help prevent pinch flats which can happen when reinstalling the tire, but too much air makes it hard to mount the tire.
- Place the valve through the hole in the rim and slide the rest of the tube inside the tire.
- Using both your hands, start by the valve and working in both directions around the rim mount the bead inside the rim.
- Always keep both hands on the tire/rim, as tires have a habit of popping over to the outside of the rim and unmounting if you don’t.
- Aim to end up finishing mounting the rim away from the valve.
- Don’t be tempted to use tire levers, this is how pinch flats happen.
- If the tire is really tough to mount, try moving both beads into the “valley’ in the center of the rim as this is a smaller diameter and it can make it easier to mount the tires.
- Once the tire is mounted to the rim, work around the tire checking to see that you have not pinched the tube, i.e. you should not be able to see the tube sticking out from under the bead.
Inflating the tire:
A pretty simple step just make sure to check the tube isn’t pinched while inflating the tire.
- Attach your pump or co2 cartridge and add a little air, just a few strokes of the pump and recheck that the tube is not pinched.
- Continue to inflate the tube and check to make sure it is not pinched.
- When you are happy the tube is not pinched, fully inflate the tube.
Reinstall the Wheel:
This step is easy after you have gone through removing and reinstalling the tire, but it can still be frustrating when working on the rear wheel, this can seem like one of the times where an extra pair of hands really would come in useful, just take you time and again practice makes perfect. If you have disk brakes be careful not to bend them, I find first lining up the pads a rotor as a first step helps a lot and helps guide the wheel into place.
- Hold the wheel in up right and drop the bike into place over the wheel if you are on your own this helps to keep the wheel stable, rather than lifting the wheel into the frame while you are holding both.
- If working on the rear wheel, first pull the derailleur backwards and then get the chain wrapped around the cassette, this is when having the derailleur set to second smallest cog really helps, if you didn’t do it before do it now, especially if you left it in on a larger cog.
- Once you have the chain around the cassette, align the disk rotor and pads if you have them.
- Slide the wheel into place, through axles typically have some guides built into the drop outs to help with this and the axles on quick release wheels act as guides.
- Tighten up the quick release or install and tighten the through axle, this really helps with the wheel on the ground and gravity helping to keep the bike in place.
- If you either had to back-off caliper or cantilevers, take care of putting them back now.
That’s it, enjoy the rest of your ride!
Final thoughts:
Every week or so it’s a good idea to check your tires to see if there are cuts or glass/thorns embedded in them, digging out the foreign objects may prevent a puncture on a ride or at the worst it’s much easier to fix a flat at home than during a ride. Small cuts in the tread can be super glued together - pro team mechanics due this daily while cleaning and checking bikes between stages.
Pump your tires up before every ride, not only does it make your bike feel the same every ride and make the ride safer, but you will get to know how much your tires lose air, some air loss is natural but if it suddenly loses more than normal it a clue you may have a slow puncture.
Get a floor pump they’re much easier to use than hand held pumps, and you will be far more likely to do it before every ride, and when your tires are up to pressure pinch them between your thumb and fingers so you can get an idea of what your pressure feels like
If you aren’t very comfortable changing tubes, practice it in the comfort of your own home, the same goes for removing and replacing wheels etc. Practicing at home also lets you learn things like if you need to carry one or two tire levers, something you don't want to learn on the side of the road.
If you are new to cycling, local shops often offer classes on basic maintenance, including fixing punctures, being confident that you know how to change your own punctures only adds to the pleasure of cycling.
One last tip, don't forget to pack new tubes when you get home.